Introducing Git Blog
If you run a static site from a GitHub repo, you know how it goes. Write markdown, commit, run local branch, push, let the generator build. It works well, but it's tied to a laptop.
I wanted a way to publish from my phone that committed directly to my repo. The existing markdown, folder structure, and Git workflow untethered from the desk.
So I built ...Git Blog.
An iOS app that commits markdown posts, images, and frontmatter directly to your GitHub repo, structured exactly how your static-site generator expects. From there, set your repo, default branch, and post and image directories, and start writing.
Posts start from a frontmatter template with fields you define to match your site's YAML. Model them from an existing post and new drafts inherit the same structure: title, date, tags, whatever your generator needs. Fields can be dropdowns. Mark one for an image and it ties into your photo picker.
The body is all markdown. Photos from your library get downsampled and compressed for the web, then inserted with paths that match your layout. Queue several posts and publish when you're ready.
Built for blogging, not just Git
There are plenty of git apps with complete control and versioning. With enough patience you could wire something together for any repo. Git Blog simply does one thing: blogging. Long-form text, static-site frontmatter, and a publish step that matches how you actually deploy. You can push to main, open a branch, push to an existing branch or open a pull request when you want a preview.
Why I built it
I like to take photos and upload them here to look at in the future and share with others. I kept not publishing because I wasn't at my desk with a local server running. Git Blog fixed that, and I've posted more since building it than I had in years. If your site runs on markdown and GitHub, you're probably losing posts to the same problem. Give it a go and let me know what works and what doesn't.
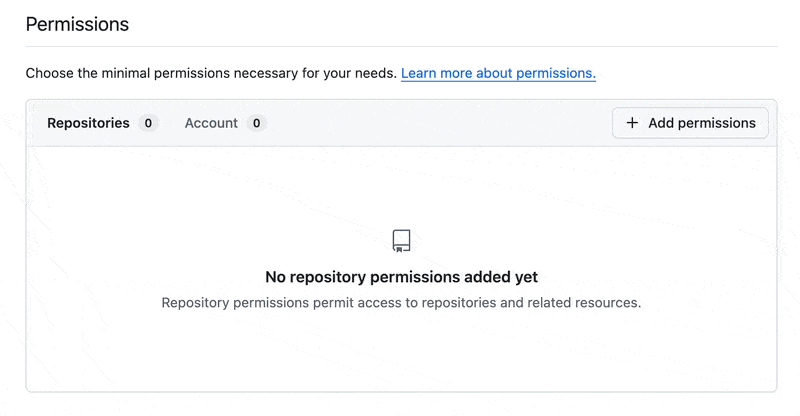
You'll need a personal access token on GitHub, which is a bit tricky.
Head to Github and create one github.com/settings/personal-access-tokens